
Quick Answer
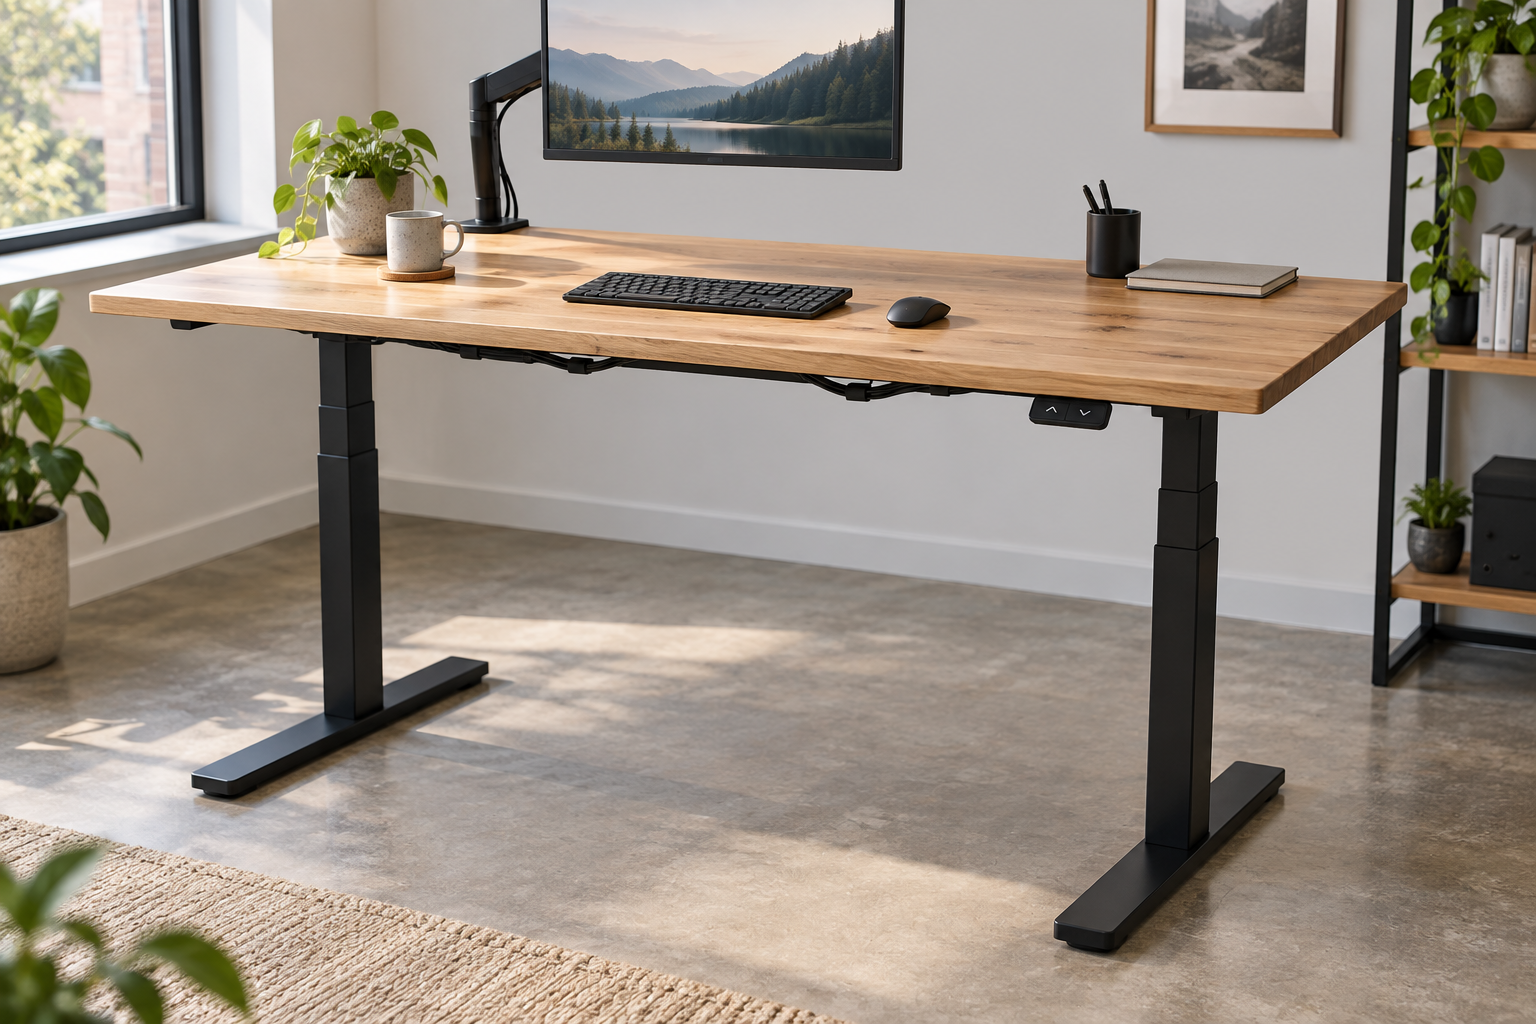
Checking solid wood desktop weight for standing desk compatibility starts with the board’s actual weight plus the equipment it will carry. For a 180 × 70 cm solid-wood desktop, B&H Ergonomics recommends a dual-motor frame with three-stage lifting columns. Start by recording the board’s thickness and actual weight. Add approximately 15 kg as an initial equipment allowance, then check the total against the selected configuration’s lifting capacity. The feet, supporting frame and mounting method must also suit the board. This is our frame-selection recommendation; the finished assembly still needs to match the actual top and its intended use.
Last Updated: September 4, 2026 | Author: William | Estimated Reading Time: 5 minutes
Measure the Desktop and Add the Equipment Load
Record the length, depth, thickness and actual weight of your solid-wood or butcher block top. Take a clear photograph of the underside, including any existing holes, threaded inserts or reinforcing pieces. These details let the frame supplier review both the size of the board and how it can be attached.
For an initial check of solid wood desktop weight for a standing desk, we use:
Actual board weight + approximately 15 kg for equipment = estimated lifting load.
The 15 kg allowance is a starting estimate for a monitor, arm, keyboard, mouse and everyday contents. Replace it with the actual combined weight of everything carried by the lifting assembly once the setup is known. Compare that total with the selected frame’s dynamic load rating, confirming that the calculation includes the board itself.
A top’s dimensions alone do not give its weight. For the 180 × 70 cm example, enter the measured board weight rather than assuming a value from its size.
Match the Feet and Frame to the Desktop Size
In our selection work, the lifting capacity is often straightforward to satisfy. The supporting base deserves closer attention when a customer brings a large wooden top.
Look at the proposed assembly from above. The feet provide front-to-back support; the distance between the legs establishes the base across its width. The mounting supports underneath the board have a separate job: they connect the top to that structure. Review all three against the board’s outline.
A broad surface projecting well beyond a small base needs particular care. Equipment placed near an edge also changes the load distribution. Ask for the assembled layout showing the feet, legs and mounting supports beneath your top, then compare it with the configuration’s supported desktop range.
For the first assembled unit, check stability during normal use at the intended working height. Keep the accepted foot and frame configuration in the order details, especially if a later quotation offers a lower-cost version.
Consider What Changes Between 15 mm and 25 mm Tops
In our purchasing experience, 15 mm and 25 mm boards can differ noticeably in price and in how substantial the finished desk feels. Compare like-for-like material, finish and dimensions when deciding whether the thicker option is worth the cost.
For the same 180 × 70 cm footprint, changing from 15 mm to 25 mm adds 10 mm of thickness. It also raises the finished surface by 10 mm at the same frame setting. Record the weight of the version you actually choose; the extra thickness should not disappear from the load calculation or purchase specification.
Thickness also affects attachment. Before reusing hardware from an old base, check the required screw engagement and the clearance to the top surface against the board and frame instructions. Existing threaded inserts are useful only if their positions and fasteners match the new mounting arrangement.
If a monitor arm clamps to the edge, check its permitted thickness and the space available underneath for the clamp. Resolve that location before fastening the frame.
Why B&H Recommends a Dual-Motor, Three-Stage Frame
For the 180 × 70 cm (1800 × 700 mm) top, we would start the quotation with a dual-motor, three-stage frame. Supply the board thickness, measured weight and underside photograph alongside those dimensions so that we can select the complete configuration.
Record the model, foot dimensions and lifting capacity from the selected configuration on the quotation. This keeps the recommendation tied to the assembly you will receive.
Single-motor options are often chosen to meet a tight budget. In the budget configurations we encounter, shortening the feet can be one way to reduce cost. If you are comparing a cheaper alternative, look at the actual supporting structure in the drawing. Our single- and dual-motor frame comparison covers the wider differences in construction and controls.
To select standing desk frames for your desktop, send us the board details and the seated and standing heights you need. We can then review the surface, mounting arrangement and height range together.
Assemble the Frame with the Desktop Face Down
We recommend laying the top face down on a protected floor or suitable workbench, attaching the frame above it, and then turning the assembly upright. You can see and reach the underside throughout the fastening work.
- Protect and support the board. Use a clean covering on a flat, stable surface capable of carrying the top and frame.
- Lay out the components before fixing them. Position the frame according to its drawing. Check the overhang and mark the mounting locations, leaving access for the handset and any underside fittings.
- Review existing holes and inserts. Compare their positions with the new mounting pattern. Use the attachment method and fasteners specified for the actual board material and thickness; obtain the top supplier’s mounting instructions where needed.
- Secure the assembly. Complete the fastenings and component installation in the order given by the frame instructions. Keep cables clear of moving parts.
- Lift and turn it upright with assistance. Plan for the combined weight and use enough help or suitable lifting equipment. Avoid levering the assembly upright against the legs.
Once upright, follow the frame’s initialization instructions and check its connections and cable clearance before use.
Desktop-to-Frame Compatibility Checklist
For the 180 × 70 cm example, the size and recommended frame type are already entered below. Complete the remaining fields using the actual board and selected configuration.
| Selection detail | Example or information to supply |
|---|---|
| Board footprint | 1800 × 700 mm |
| Recommended frame type | Dual motor, three-stage columns |
| Board specification | Wood/construction ; thickness mm; measured weight _ kg |
| Lifting-load check | Board _ kg + actual equipment kg = __ kg; compare with selected rating |
| Underside record | Photograph showing old holes, inserts, reinforcement and available mounting area |
| Selected assembly drawing | Quoted feet, leg spacing and mounting supports matched to the board outline |
| Fixing method | Suitable hardware and mounting instructions for this board |
| Installation record | Face-down assembly completed; connections, clearance and normal-use stability checked |
Keep the completed sheet and underside photograph with the quotation. They identify the board you are fitting and the configuration agreed for it.