
Quick Answer
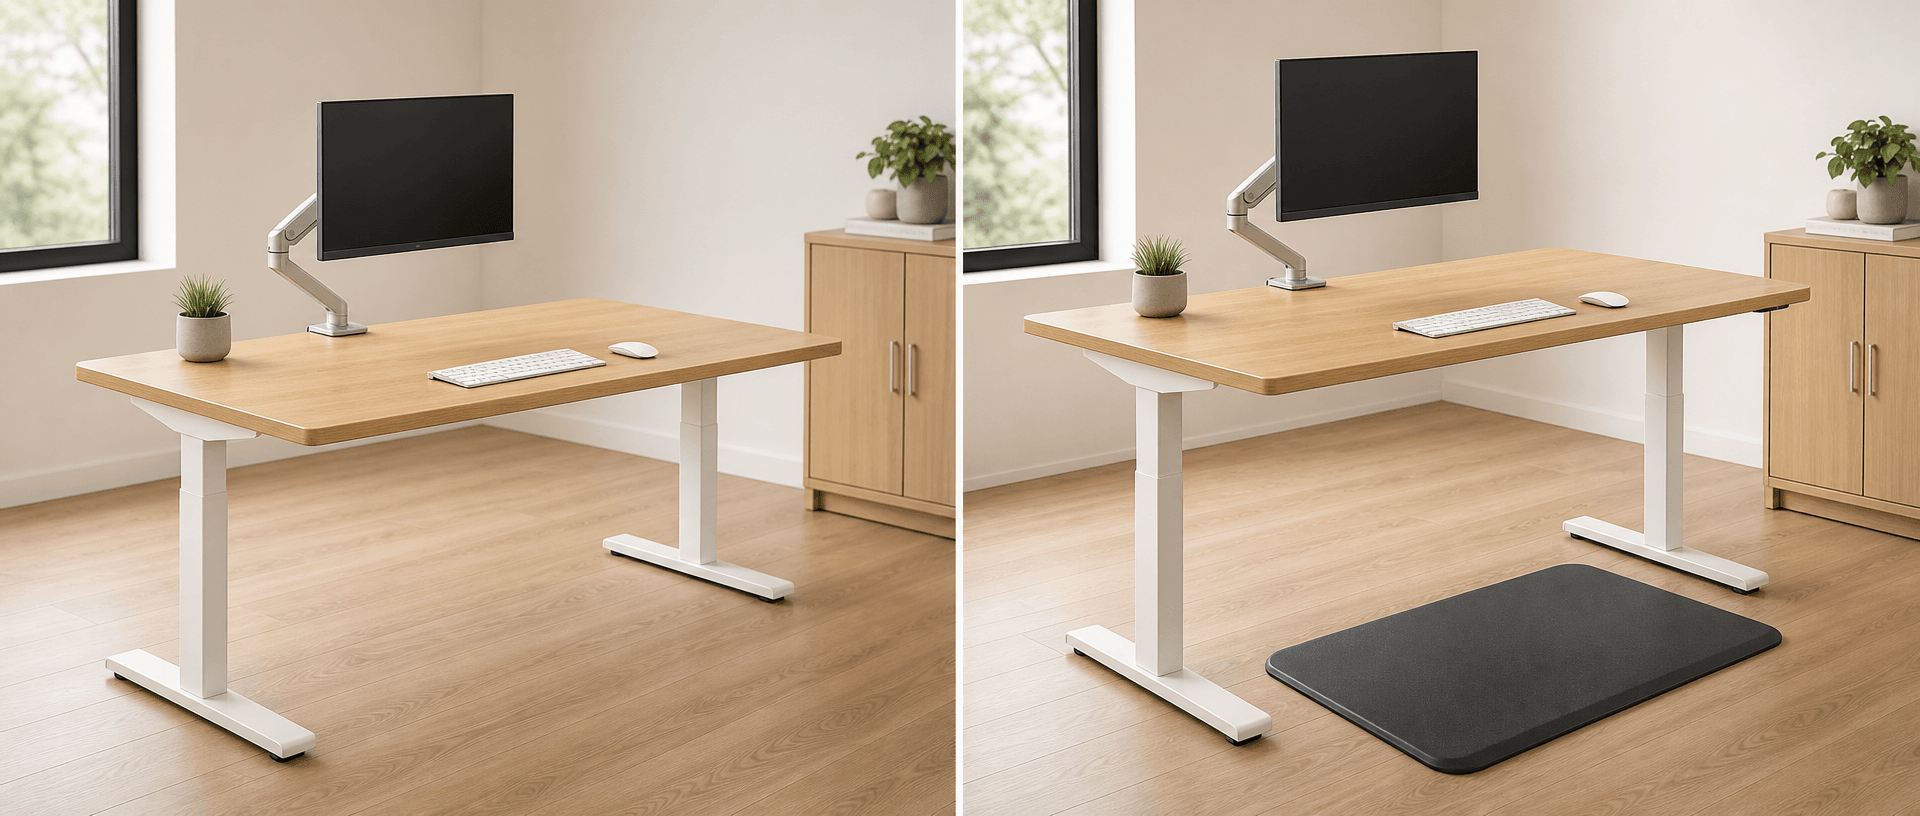
Your optimal standing desk height puts the keyboard around your relaxed elbow height, with your shoulders down and your hands aligned with your forearms. Measure in your usual work shoes, then adjust the desk while testing the actual keyboard and mouse. If you alternate between using a standing mat and standing on the floor, measure and record both settings separately.
Last Updated: Aug 16, 2026 | Author: William | Estimated Reading Time: 6 minutes
Measure Your Standing Elbow Height Without Changing Your Posture
Stand in your normal working position with your usual footwear. If you intend to work on a standing mat, stand on that mat while measuring. Keep your feet comfortably apart and let your upper arms hang naturally beside your body.
Bend your elbows so your forearms are roughly horizontal. Do not shrug your shoulders or squeeze your arms against your ribs to produce a tidy-looking measurement. Relax, lower your arms briefly, and return to the position if you find yourself holding tension.
OSHA’s guidance on good working positions describes relaxed shoulders, upper arms hanging normally at the sides, and hands, wrists and forearms in line. Keeping your elbows close to your body does not require pressing them tightly inward.
Have another person measure vertically from the floor to the underside of your forearm near the elbow. A helper lets you keep your position instead of bending down to read the tape. Record this as an elbow-height reference, together with the shoes and mat used. When standing on a mat, measure from the floor supporting the desk, not from the top of the mat.
This reference starts the adjustment; it is not automatically your finished desktop height. The keyboard sits above the desktop, and its shape and tilt affect where your hands work. A height chart or calculator can suggest a starting point, but the setting still needs to work with your equipment.
Adjust the Keyboard Height, Then Test Your Hands
Put your normal keyboard and mouse in their working positions. Adjust the desk until you can reach the keys with relaxed shoulders and your hands approximately in line with your forearms. Because the keys sit above the board, the desktop will usually need to be below the elbow-height reference.
Type a few sentences, use keyboard shortcuts, and move between the keyboard and mouse. Check the position during these actions, rather than judging it with your hands held still above the desk.
- If you lift your shoulders to reach the keys, lower the input surface and test again.
- If your wrists bend upward or downward, check desk height and keyboard tilt together.
- If you reach forward for the mouse, bring it closer before changing the desk height.
Do not raise the whole desk to solve a screen-height problem after the keyboard position fits. Adjust the screen separately; the standing desk ergonomics checklist covers that wider workstation setup.
Check Whether a Palm Rest Changes Your Wrist Position
A palm rest changes how your hands approach the keyboard. Check it with the keyboard you actually use, particularly around the front edge near the space bar. A thick rest should not lift your hands into a position that makes you bend them downward to reach the keys.
In my experience, a palm rest that is too high and pushes my wrists up or makes my hands angle downward feels more tiring than using no rest.
OSHA’s wrist and palm support guidance recommends matching the support to the keyboard’s front-edge height and slope, with the aim of keeping the wrists straight. It also distinguishes typing from resting: your hands should move freely above the support while typing; during pauses, the support should contact the heel of the hand rather than the wrist.
If adding a rest changes your wrist angle, adjust or remove it and repeat the typing check. Do not save a desk preset while compensating for a poorly matched accessory.
Record Separate Heights With and Without a Standing Mat
A setting measured while you stand on a mat belongs to that setup. When you remove the mat, check the desk again instead of assuming the same preset will still fit.
For occasional mat use, measure two conditions:
- Without the mat: wear your usual shoes, find the keyboard position that fits, and measure the finished desktop height from the floor.
- With the mat: stand normally on the mat, repeat the keyboard and mouse checks, and measure the desktop height again.
Do not simply add the mat’s advertised thickness to the first setting. Measure while standing on it so the result reflects the mat under your weight and your actual working position.
If the controller supports enough memory positions, save one standing setting for each condition and retain your seated setting. Label them clearly, such as “Standing—floor” and “Standing—mat.” On a controller with too few memory slots, keep a written record and adjust manually for the less-used condition.
After saving, move the desk away from the setting and recall it according to the operating instructions, keeping its movement path clear. Repeat the typing check to confirm you saved the intended position. Recheck after changing shoes, mats, keyboards or palm rests.
Check the Finished Desk Height Range
Compare your tested desktop requirements with the desk’s finished floor-to-top height range. Ask whether the quoted dimensions include the selected desktop. A frame-only height and the height of a complete desk are different measurements.
For example, suppose your tested desktop height is 1,050 mm without a mat and 1,065 mm with it. Those are hypothetical measurements, not recommended heights for a particular body size. A desk whose maximum finished height is 1,060 mm would miss the second requirement by 5 mm.
Keep the exact millimetre requirements when comparing specifications. For reference, 1,050 mm is 105 cm, or approximately 41.34 inches; 1 inch equals 25.4 mm. Avoid rounding away a small fit difference when ordering.
Check the lower end separately for seated work using your seated desk-height measurements. Reaching your standing position does not establish that the same desk lowers far enough for you.
For an office rollout, use these measured requirements when comparing B&H Ergonomics commercial sit-stand desk options. Request the finished range for the proposed desktop and frame combination, then check an assembled sample with the intended users and input devices.
Keep a Standing-Height Measurement Record
Use one record per person and workstation. Measure the desktop from the same floor reference each time. Record the controller display separately rather than assuming its number equals your tape measurement; check the product instructions for what the display represents.
Workstation: _ User code: _ Date: __
| Measurement or check | Without a mat | With a mat |
|---|---|---|
| Work shoes | __ | __ |
| Mat used | None | __ |
| Elbow-height reference from the floor | _ mm | _ mm |
| Keyboard, tilt and palm-rest setup | __ | __ |
| Tested finished desktop height | _ mm | _ mm |
| Controller display, including units | __ | __ |
| Saved preset or manual setting | __ | __ |
| Shoulders relaxed during keyboard and mouse use? | Yes / Adjust | Yes / Adjust |
| Hands and wrists aligned with forearms? | Yes / Adjust | Yes / Adjust |
| Setting recalled and checked? | Yes / Recheck | Yes / Recheck |
Required seated desktop height: _ mm. Proposed desk’s finished range: to __ mm.
If a condition is not used, mark that column “N/A.” Keep the record with the workstation and update it when the equipment or user changes. For shared desks, each person’s tested settings need their own record.